
I did a bunch of home improvement projects at our first house, including redoing trim, doors, kitchen backsplash, replacing appliances, etc. However, my biggest personal project had to be replacing my back deck.
This project took about a whole summer in 2009. A big factor on the timeline was due to it raining practically every weekend, which really slowed us down.
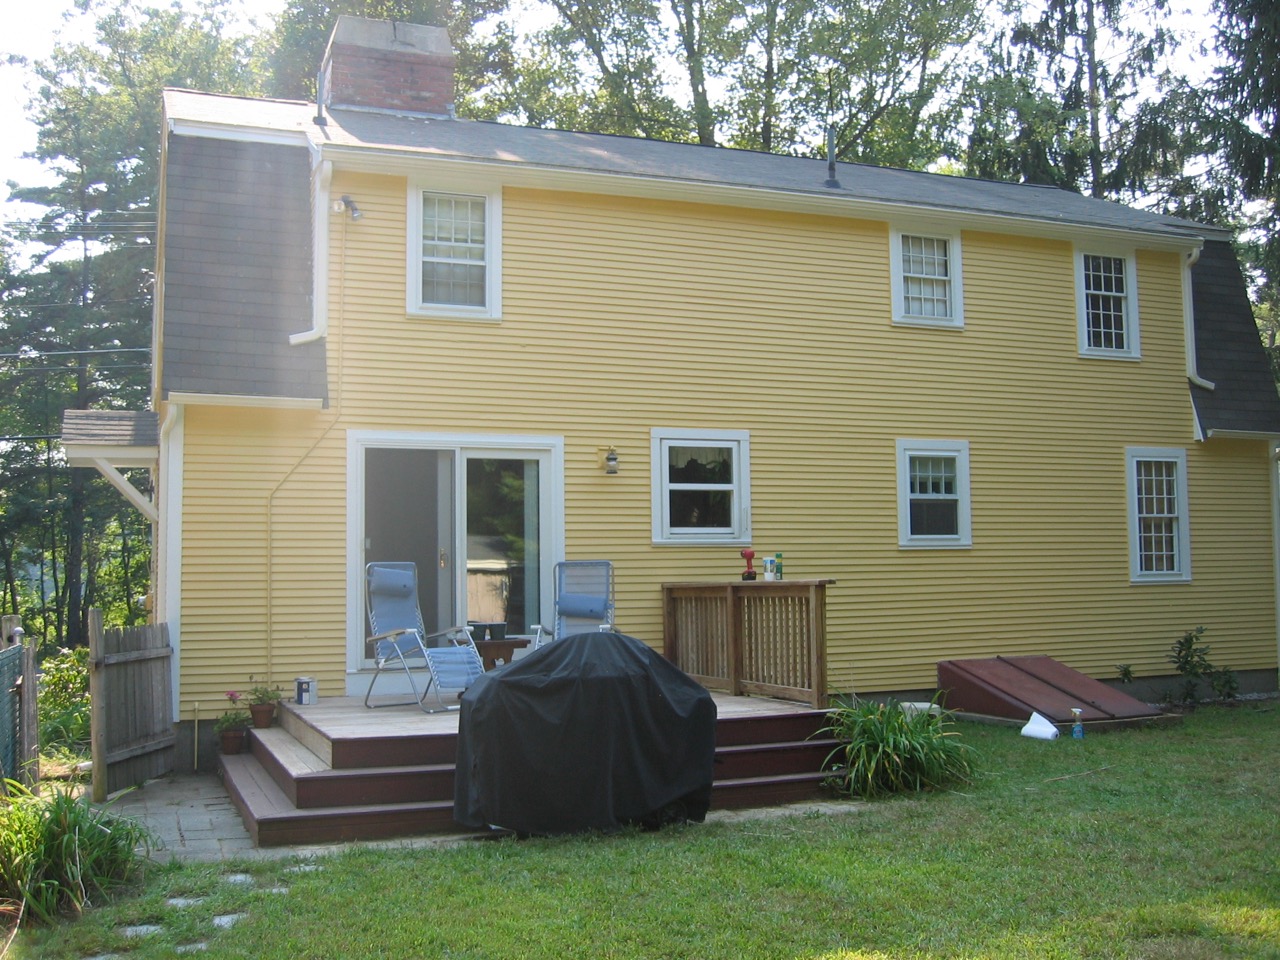
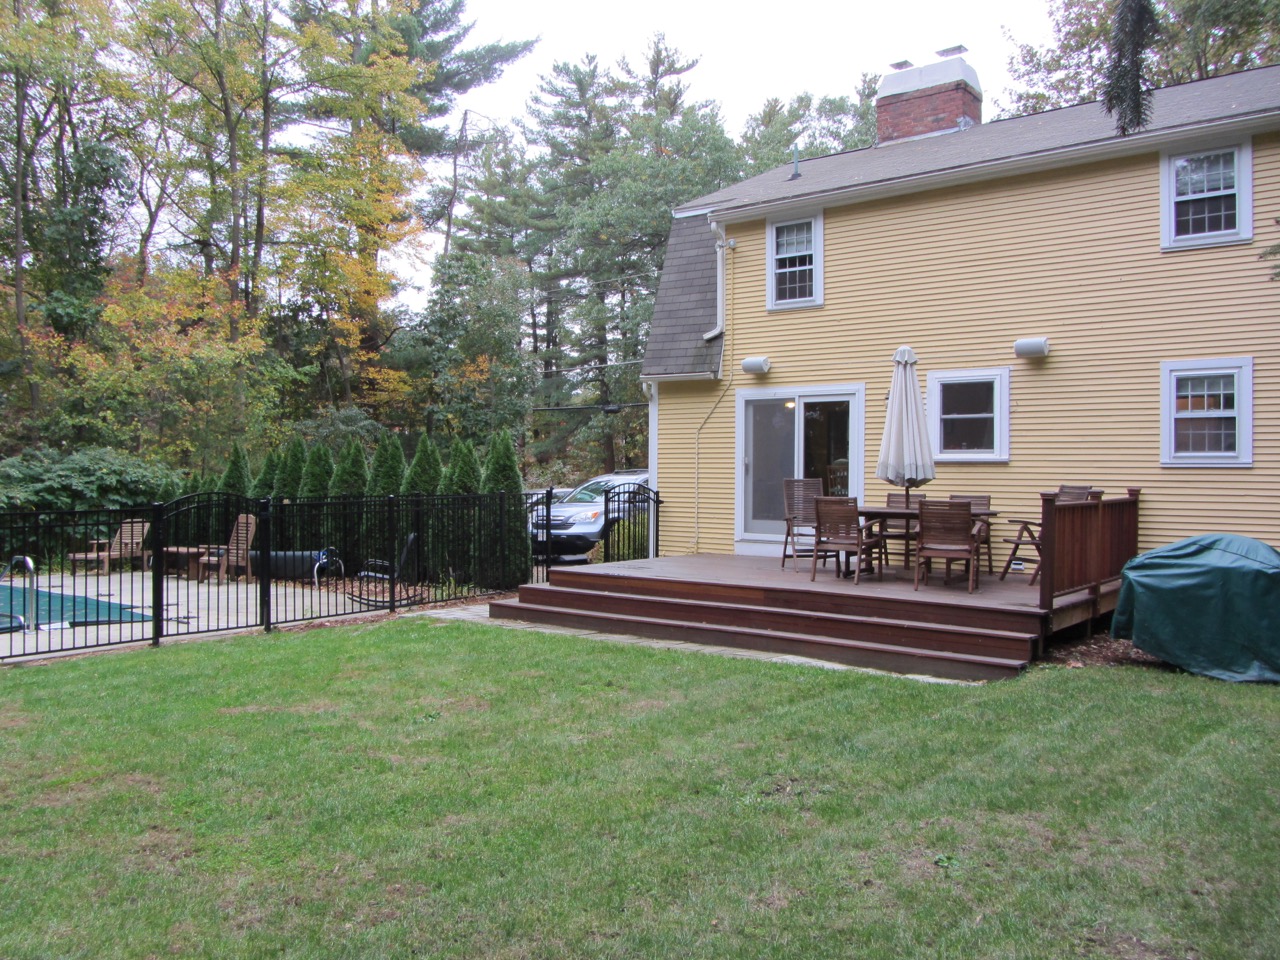
Here’s the before pic. It doesn’t look too bad since I took this pic right after our house was painted and the deck was just stripped. Trust me, this thing needed to be replaced.
I decided to do the deck in 3 stages. Stage 1 was to expand the deck area (pouring new footings, framing, etc.) and replacing the decking. Stage 2 was to replace the steps. Stage 3 was to do the railing.
Stage 1 – Decking
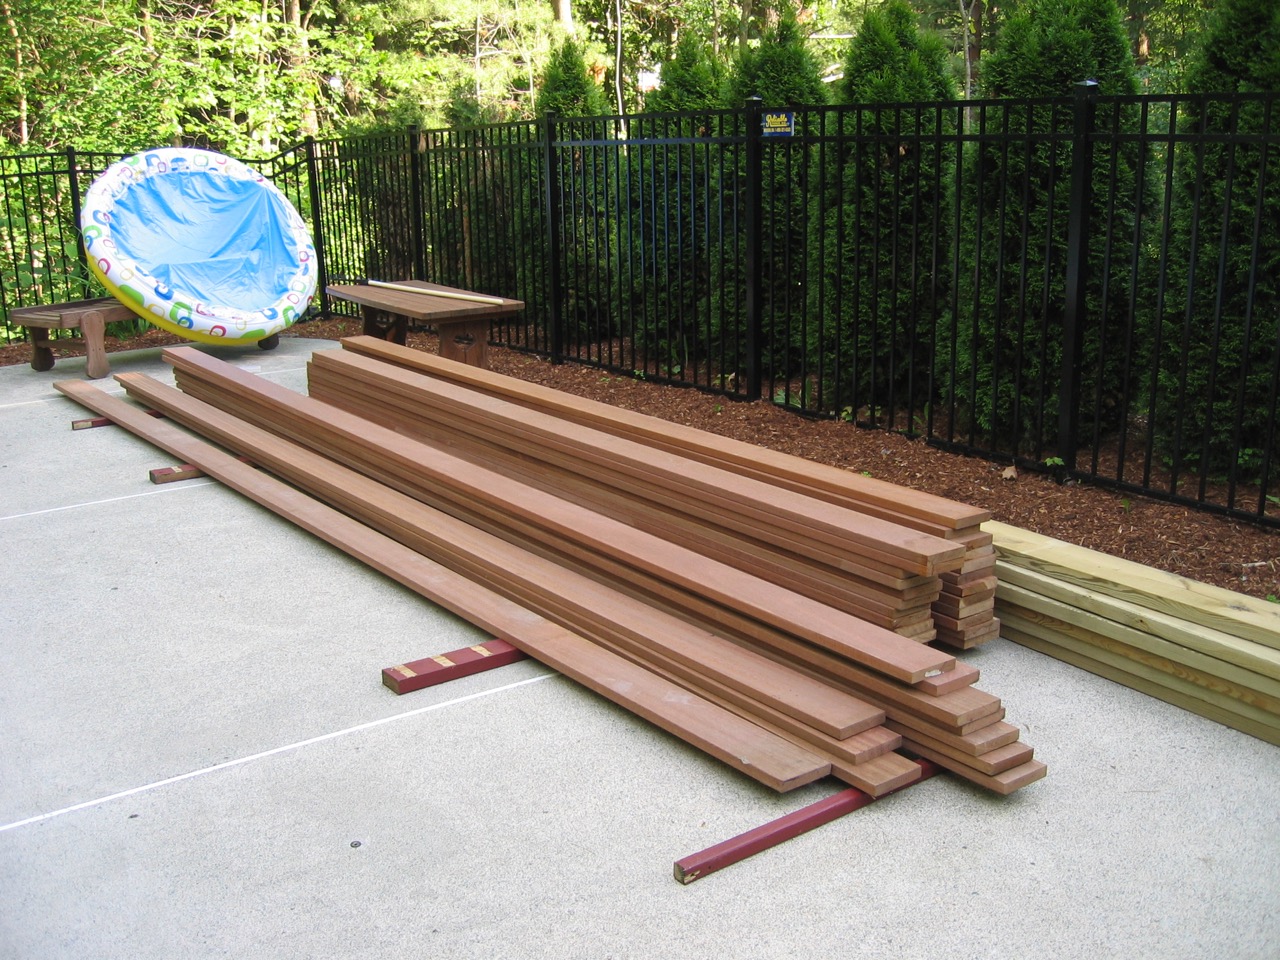
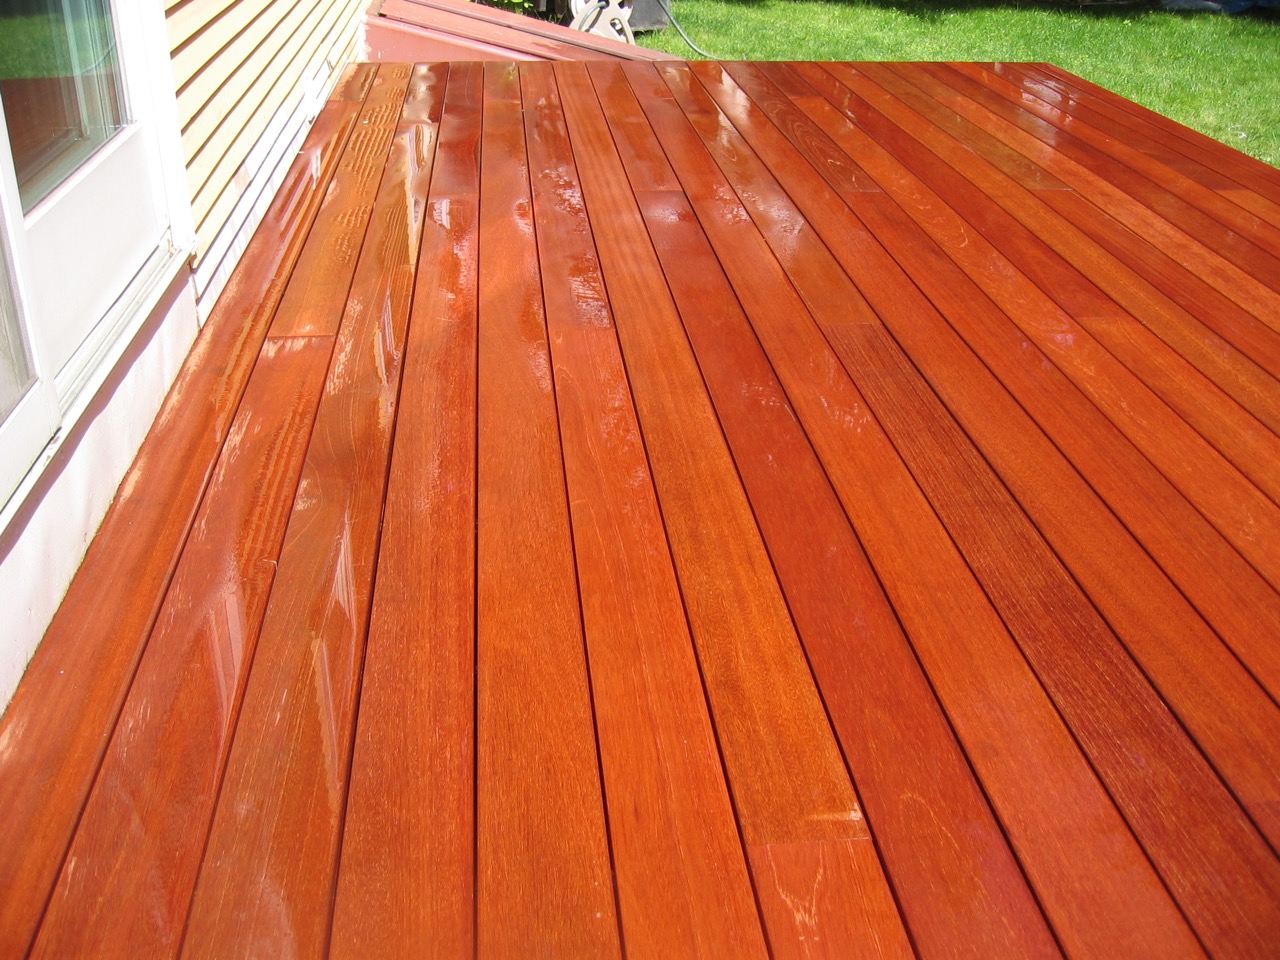
I had my mind totally set on a natural Mahogany deck. The local lumber yard sold a material called ‘Kayu Batu’, which is a hardwood from Indonesia. It was pretty expensive, but the finished pics on the website were unreal (check out link above).
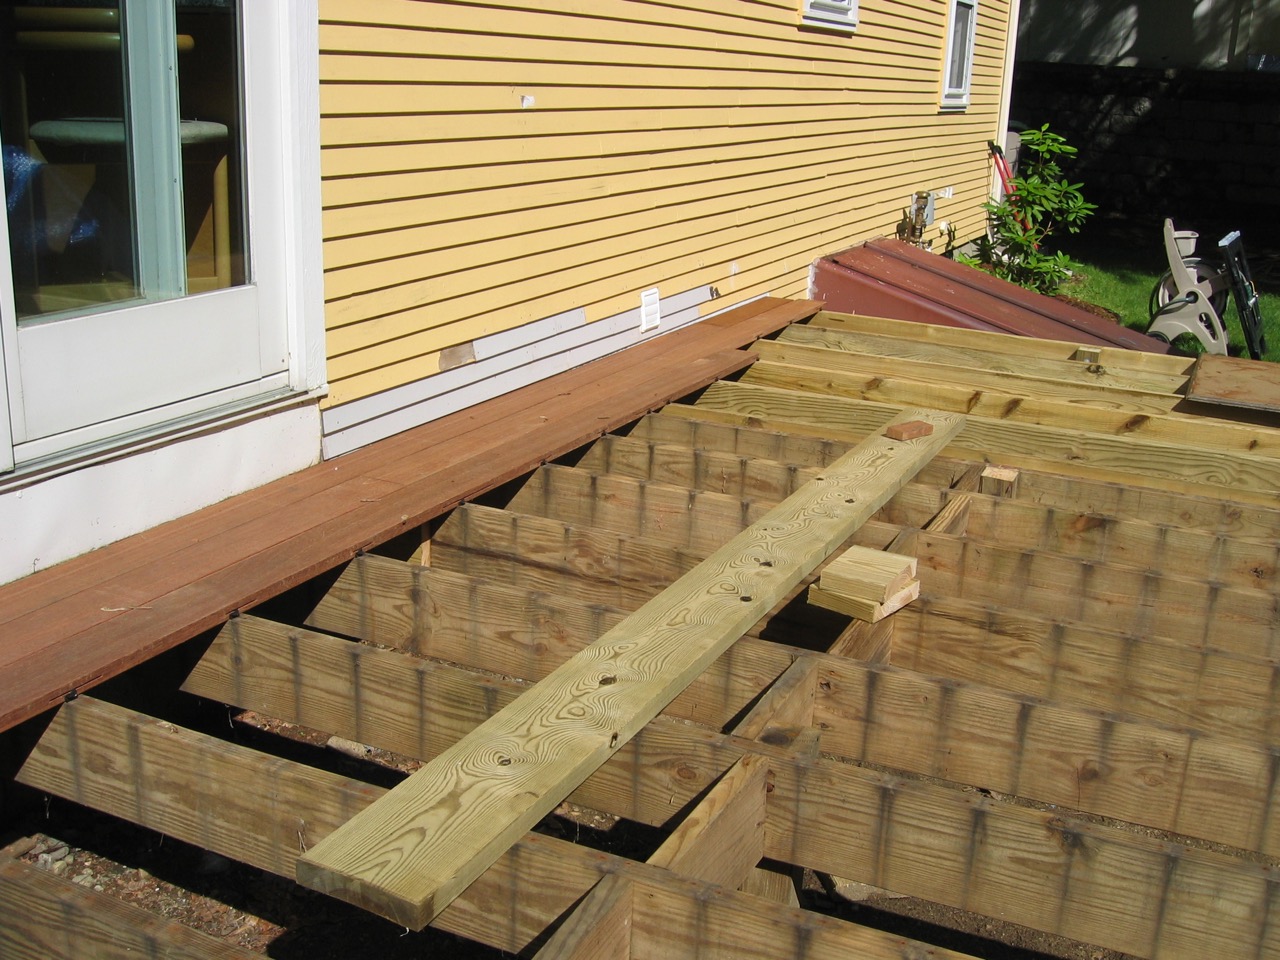
The first step in stage 1 was to remove the current decking.

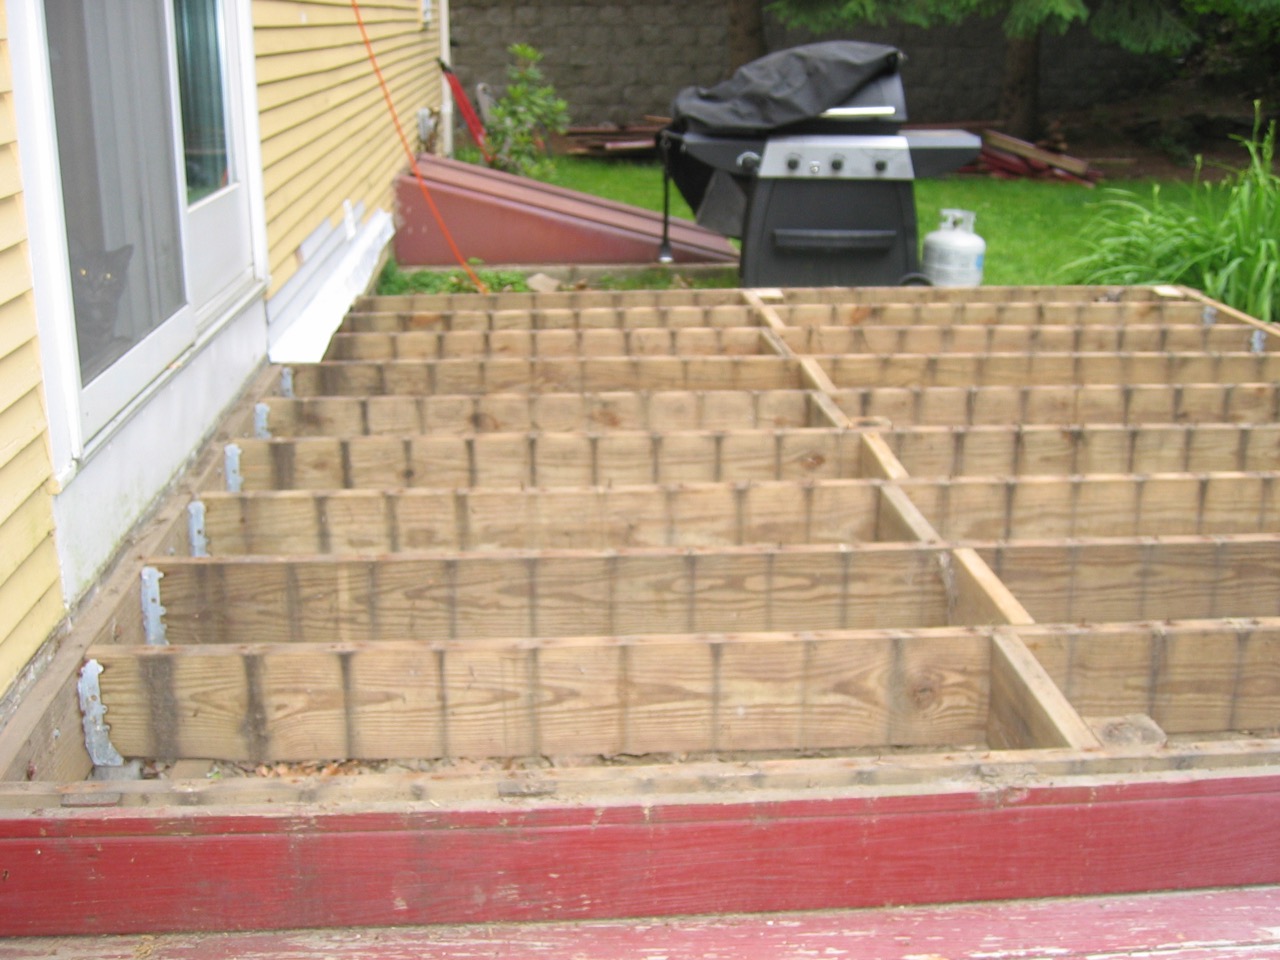
Once the decking was removed we needed to install a new ledger board to the house. In addition I needed to install copper flashing and repair some rotted siding.

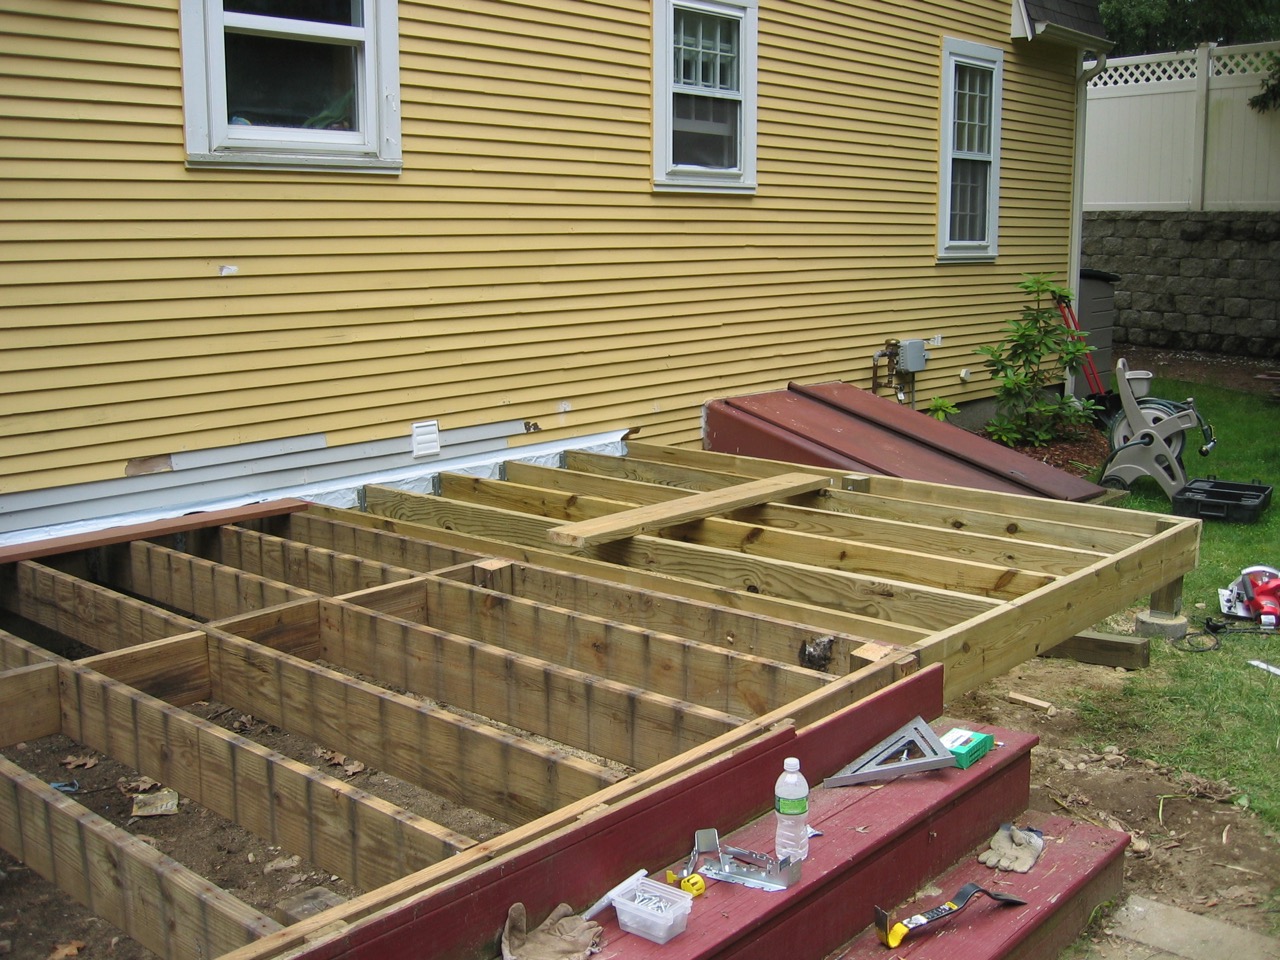
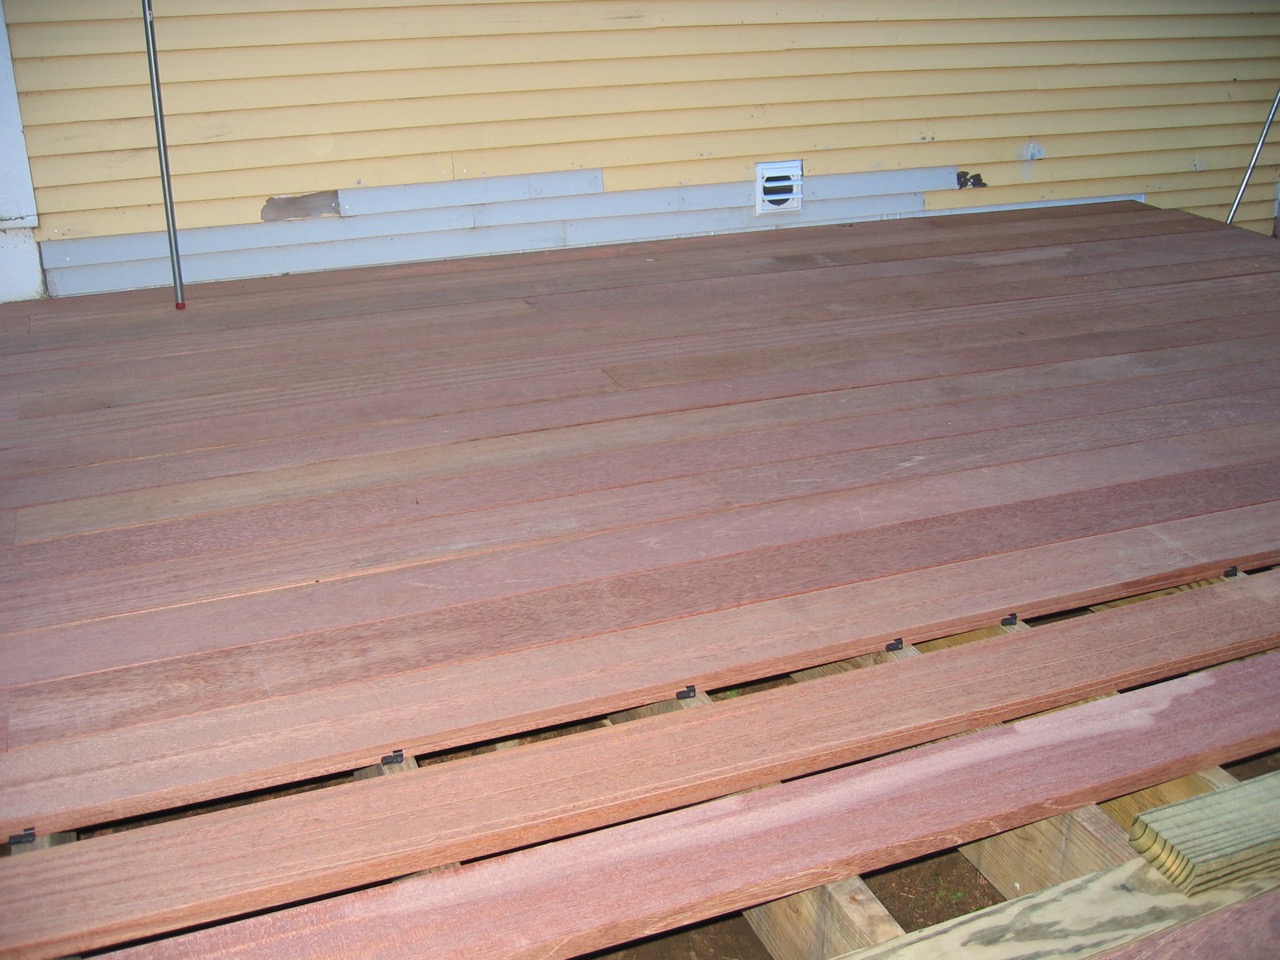
The above shot shows the new siding with a cutout for a dryer vent. Also you can see the new ledger board and flashing.
Once that was done I needed to dig a hole and pour a new concrete footing for the new corner of the deck. After that had settled we framed the new deck area and attached it to the old deck.
It felt great to see the new deck take shape! My dad was a huge help, this was my first construction project!

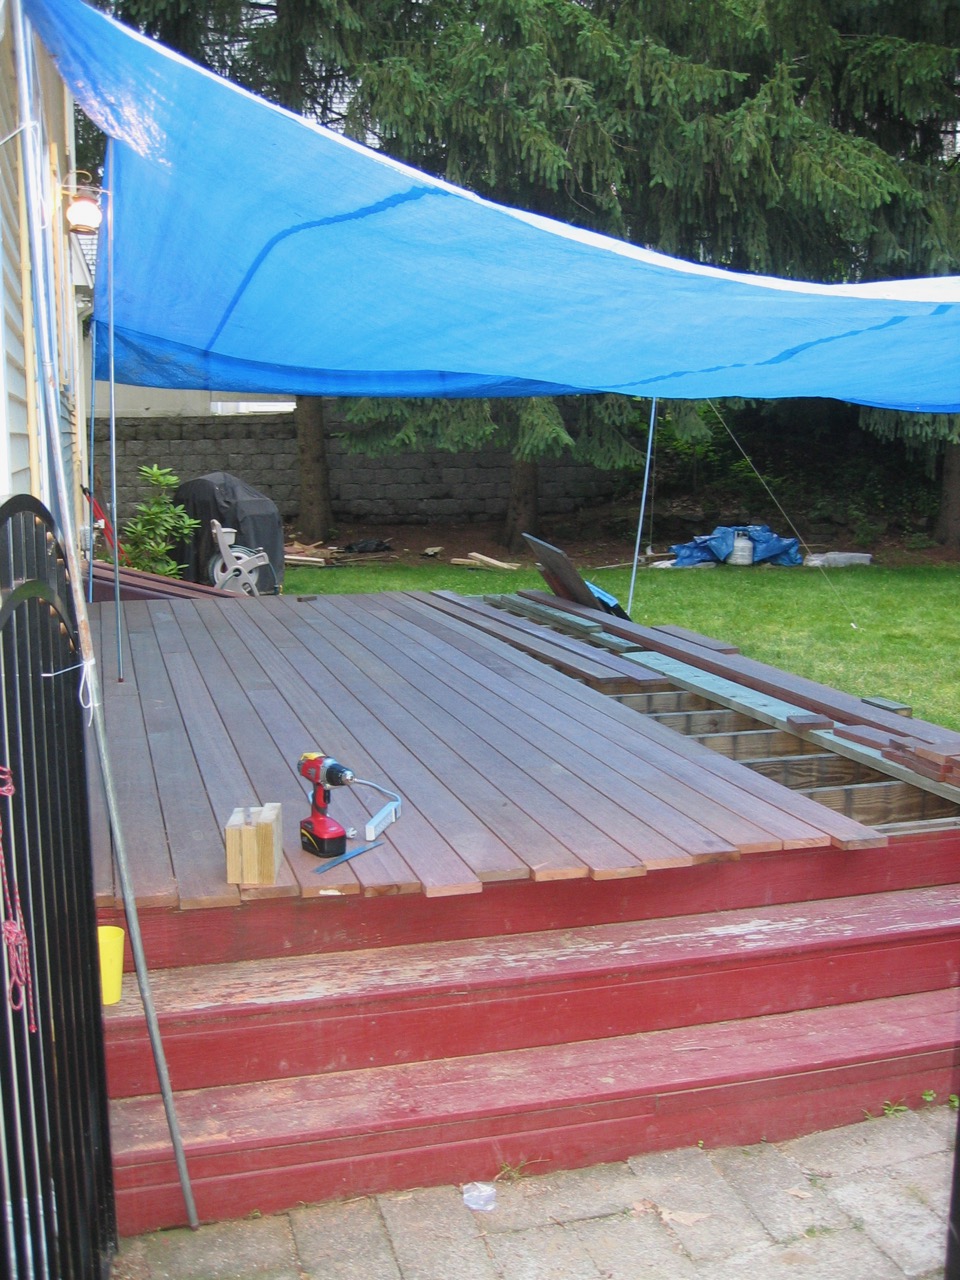
Now it was time to install the decking! I went with an invisible fastener system. This turned out to be a real bad idea. The hardwood was, well, extremely hard. The fastener required us to route a groove in the side of the board every 16″ or so. This was a TON of work. But, we kept at it and eventually finished!
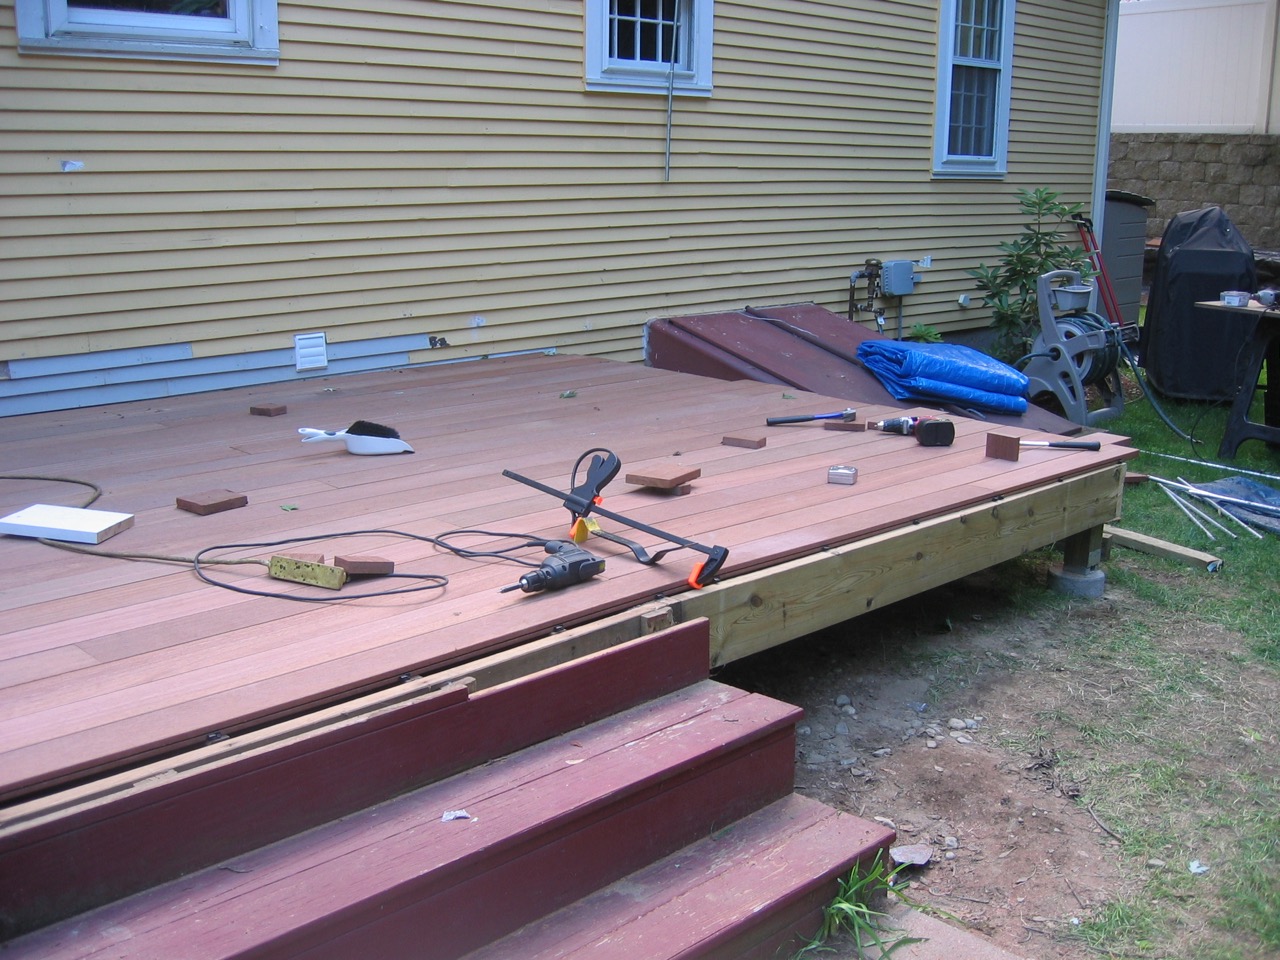
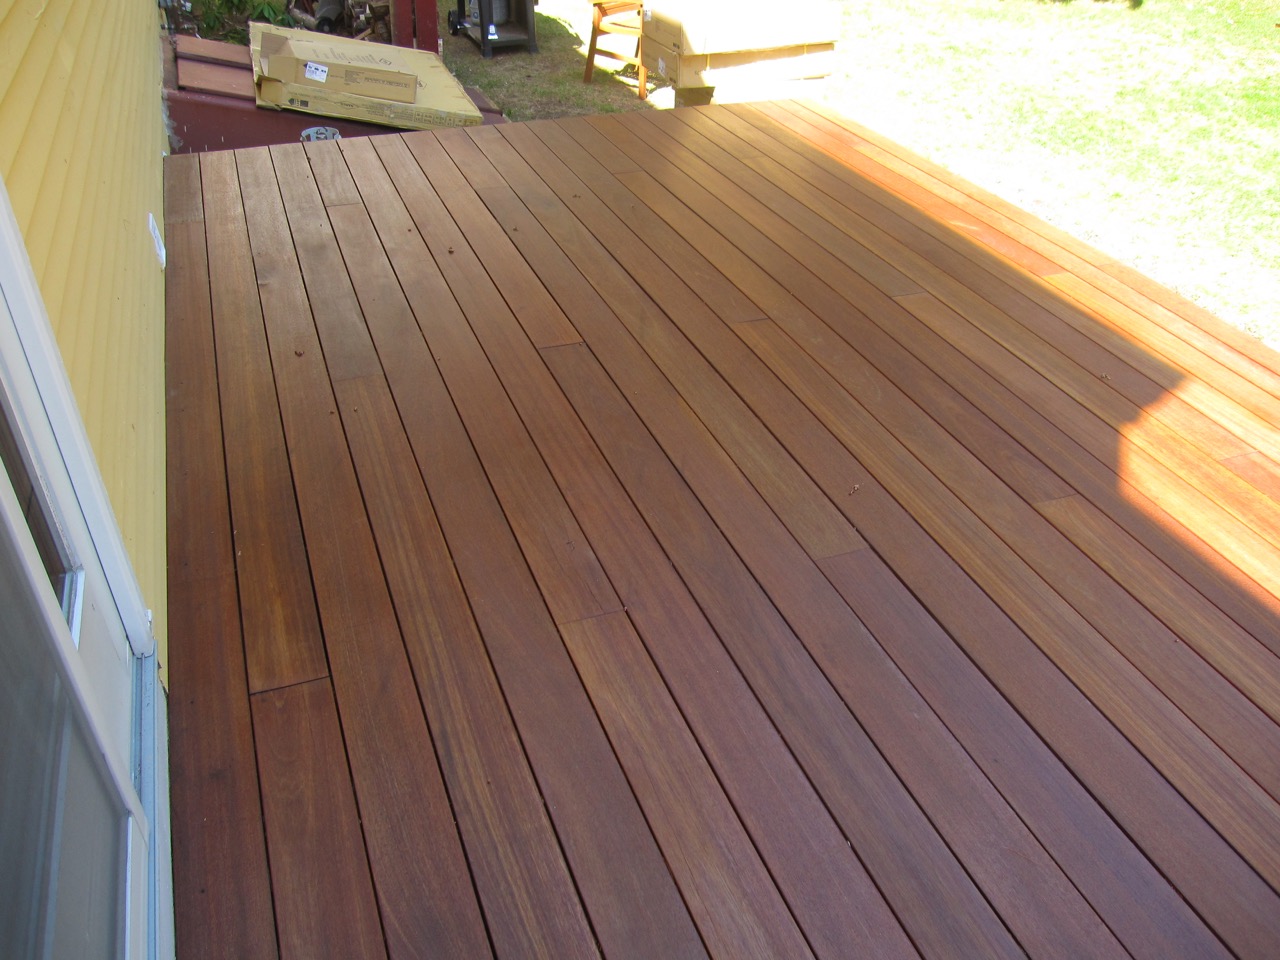
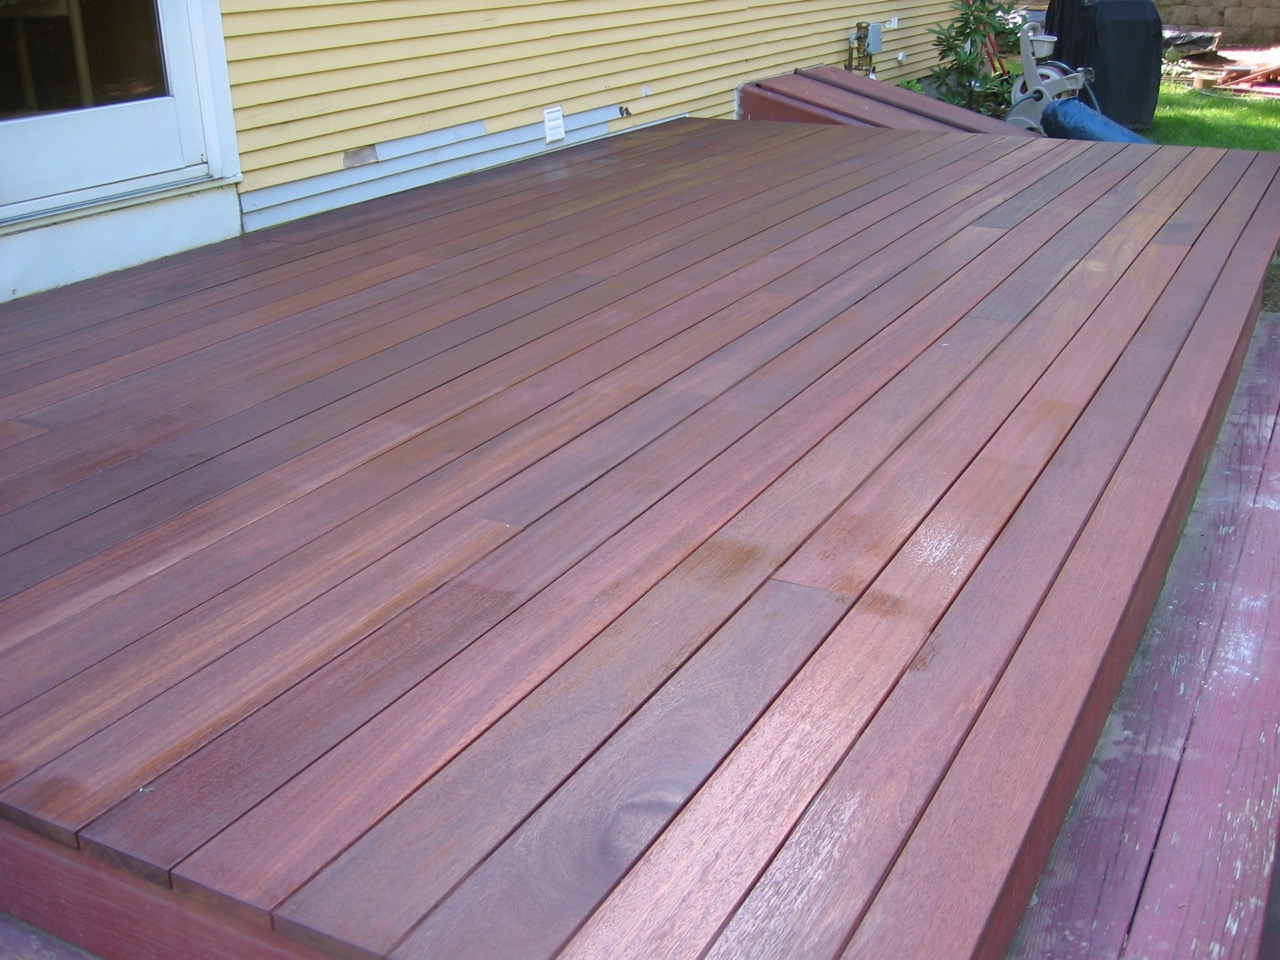
Stage 1 was now complete. Once I applied the stain the decking looked phenomenal!
Stage 2 – Steps
It felt like forever to get that top decking in. Next up I had to rip out the old steps and put all new decking in to replace them.
Here is what the old steps looked like:

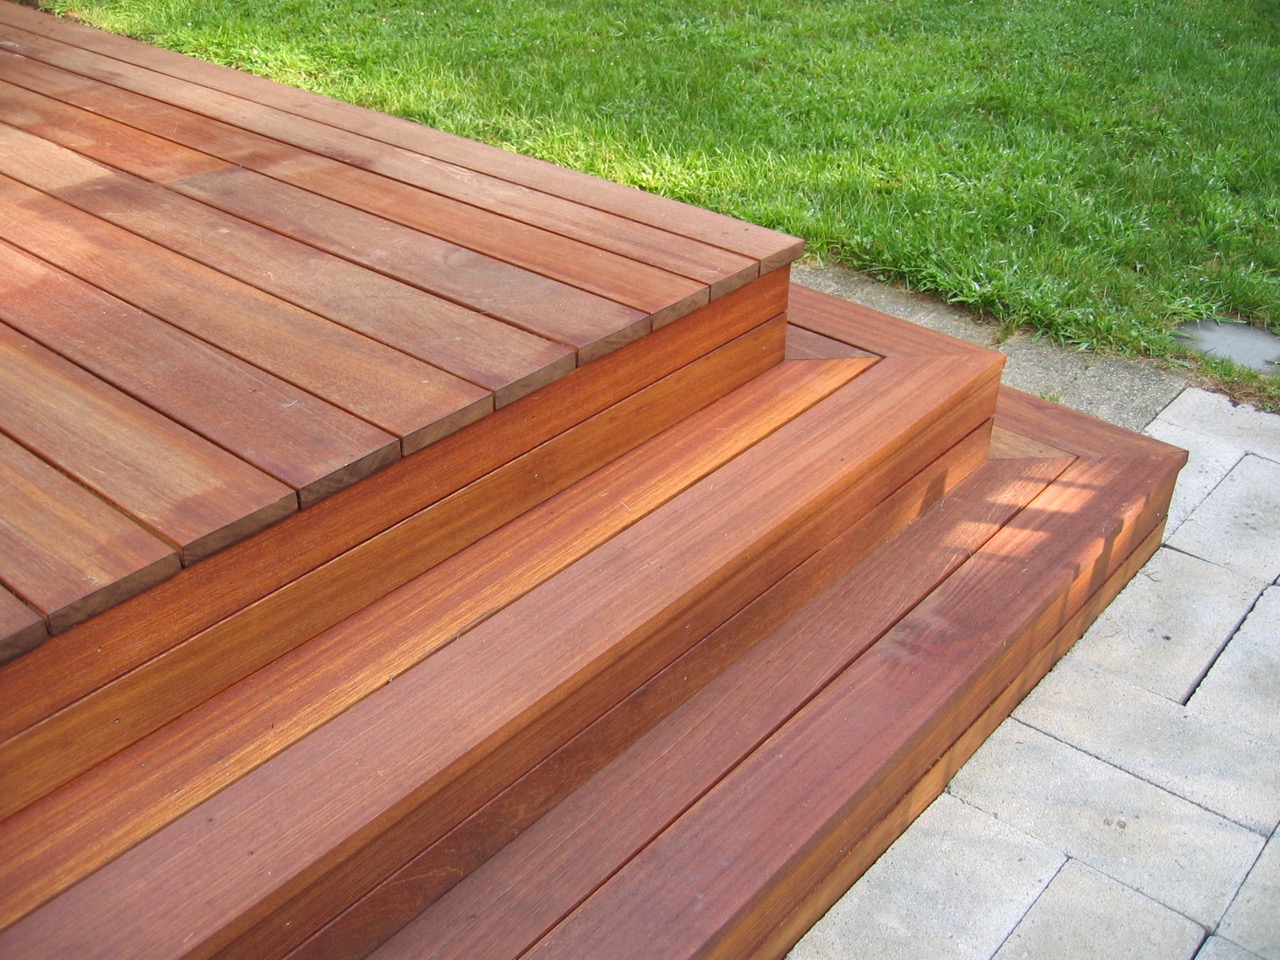
And now the after shot!
Stage 3 – Railing
The last step was to install a railing on one side, similar to the old design. No construction shots on this one, just some pics of the final product.
Summary
Overall this project was a ton of work and we ended up selling the house a few years later. I’m glad I did it though, because I learned a lot about construction. It was a great training ground that would help me be prepared to replace the front porch on our next house (project page coming soon!)
One thought on “Deck Replacement – Pleasant St (2009)”